


As a result of the growing dependence on the online world, businesses everywhere are making sure that they have active, engaged, and user-friendly websites. Whether your site is about e-commerce or simply another tool in your overall marketing campaign, it has been more critical to ensure your website is delivering results.
Google Tag Manager is also one of the key features of Google Analytics. Managing analytics and marketing tags for your website can be a real challenge. Redundant or improper tags can mess up data measurement and lessen your site’s performance. In this fast-paced course, you’ll learn how to set up Google Tag Manager and sync Google Analytics.
How to setup Google Tag Manager and sync Google Analytics
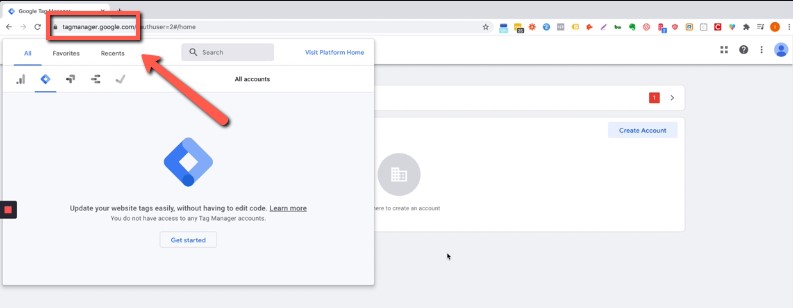
- Go to tagmanager.google.com, make sure you have a Google account to access it. If you already have a Google Analytics account, it is best to create the Google Tag Manager from there.
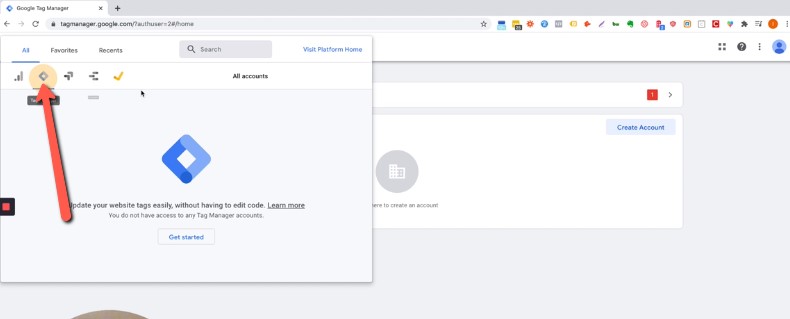
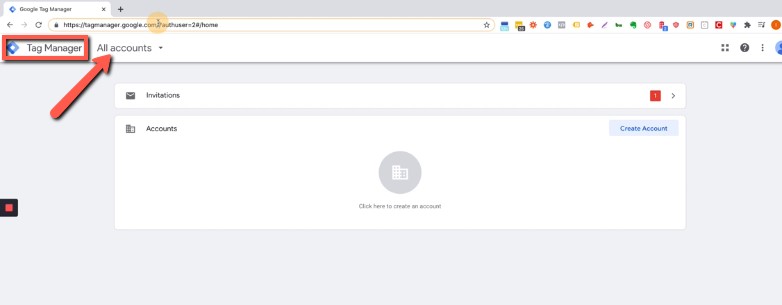
2. Click on the diamond Icon and you will be redirected to Google Tag Manager page, and you can see ‘Accounts’.
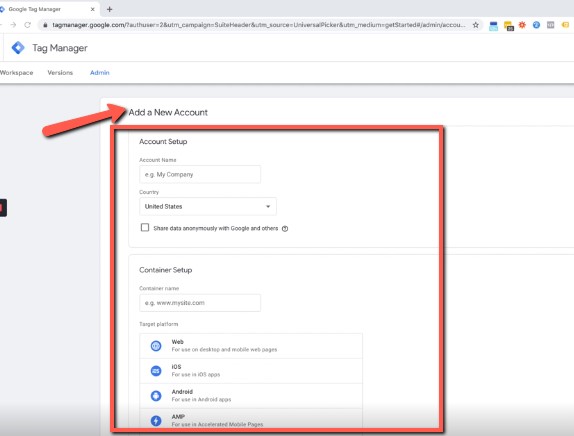
3. Select create account and it will redirect you to creating an account for Google Tag Manager. Make sure to put in the correct details for the account.
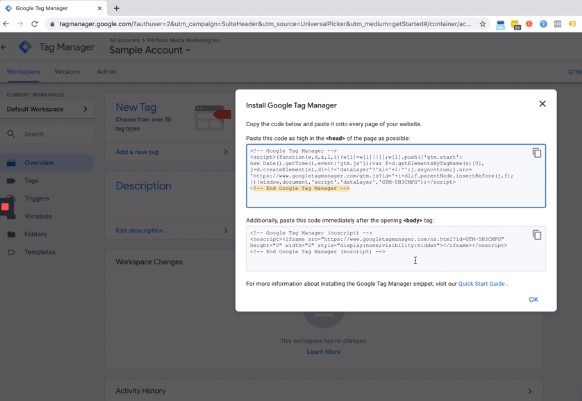
4. Once done, it will give you 2 sets of codes, one for the head and one for the body. It will be the code to insert on your website for the tool.
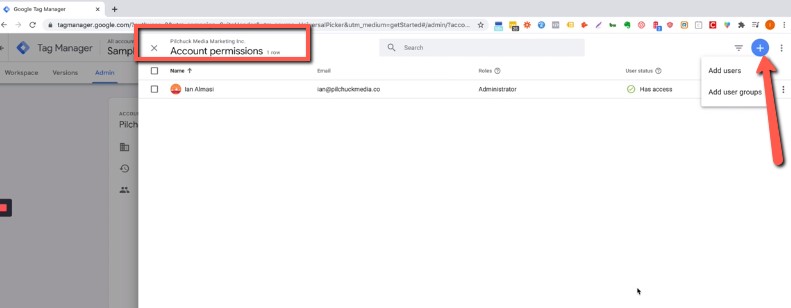
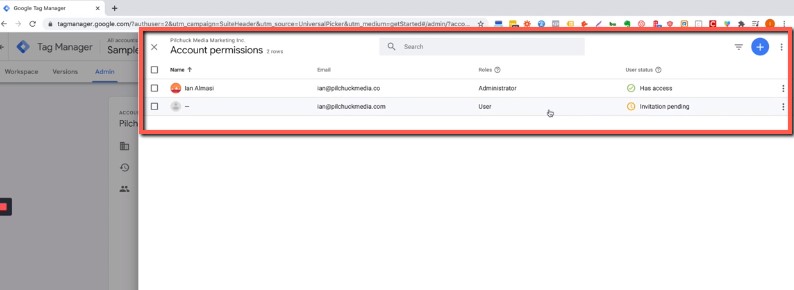
5. Once the account has been created, go to ‘User Management’. It will then open a pop-up window where you can add, edit, and remove user’s access for GTM.
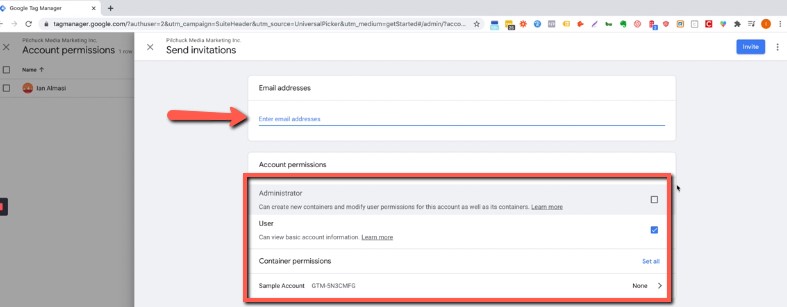
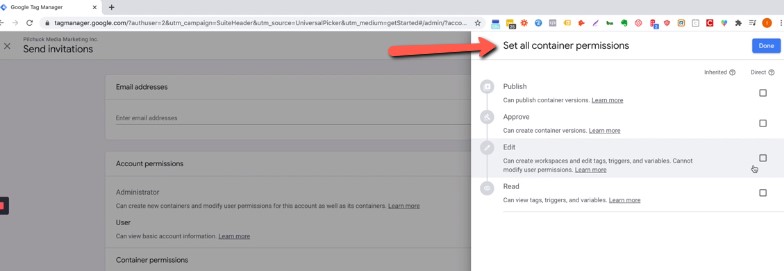
6. You can also send invites by putting the email address, and setting the admin privileges for the user. Make sure to set the access correctly to avoid confusion.
7. All users added on the account will appear on ‘Account Permissions’ tab.
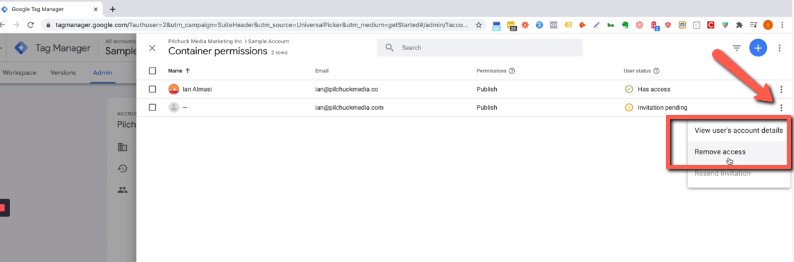
8. If you want to remove a user, just click the three dots beside the account and click on remove access.
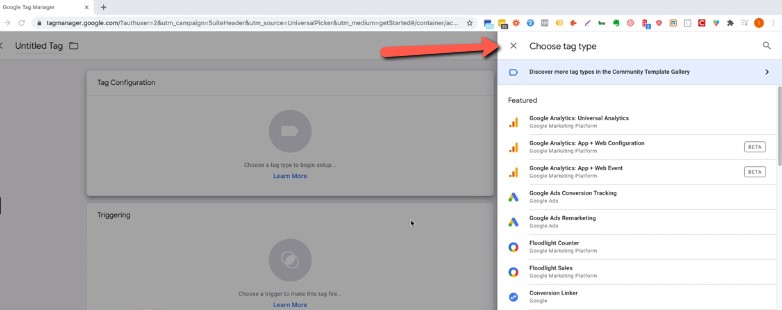
9. You can choose from a wide variety of apps where you can generate code for tags. Simply select the app and the platform will generate the code for the site.
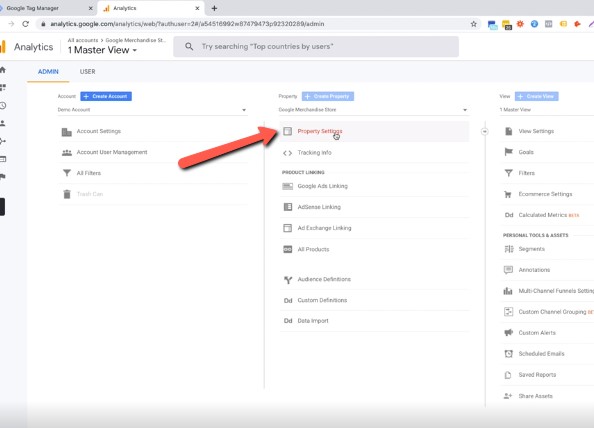
10. Once done, go back to the homepage and click on the Google Analytics account, which has a yellow signal bar icon.
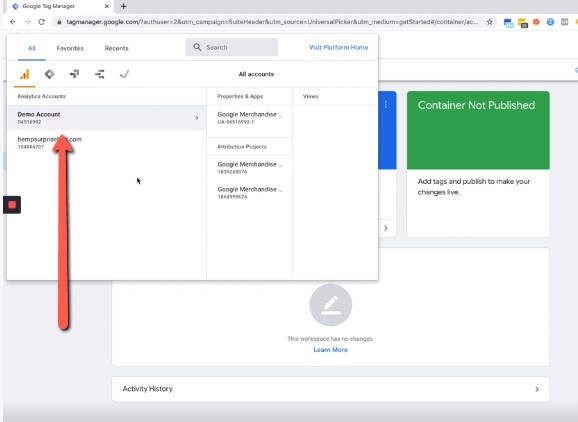
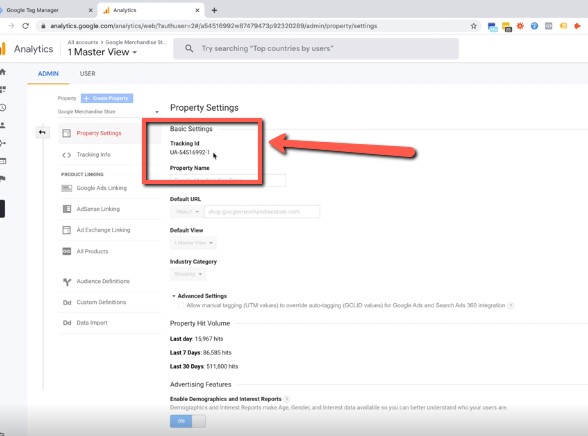
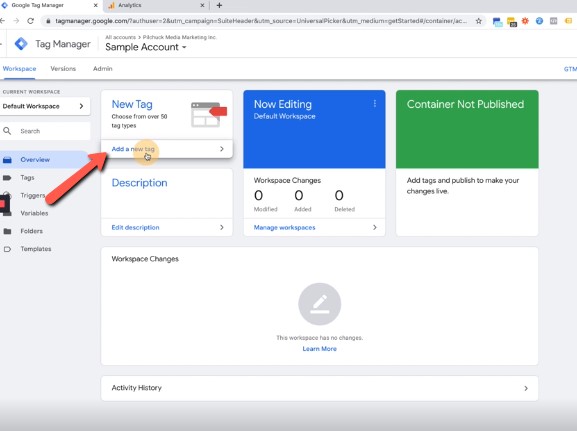
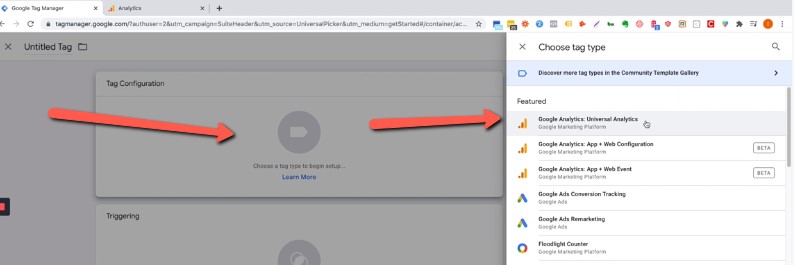
11. Select Property settings and take note of the ‘Tracking ID’. Copy it and go back to Tag Manager> Add new tag> Tag configuration> Google Analytics (Universal Analytics)> New Variable> then paste the Tracking ID then click save.


Here are some simple steps on how to sync Google Tag Manager and Google Analytics. Always remember that utilizing Google Tag Manager and Analytics to your website can help your site progress. It is vital to know if the website is doing its purpose or just burning money without converting leads to a sale. Integrating these tools are also crucial for your business’s success.
Best view i have ever seen !
Thank you!